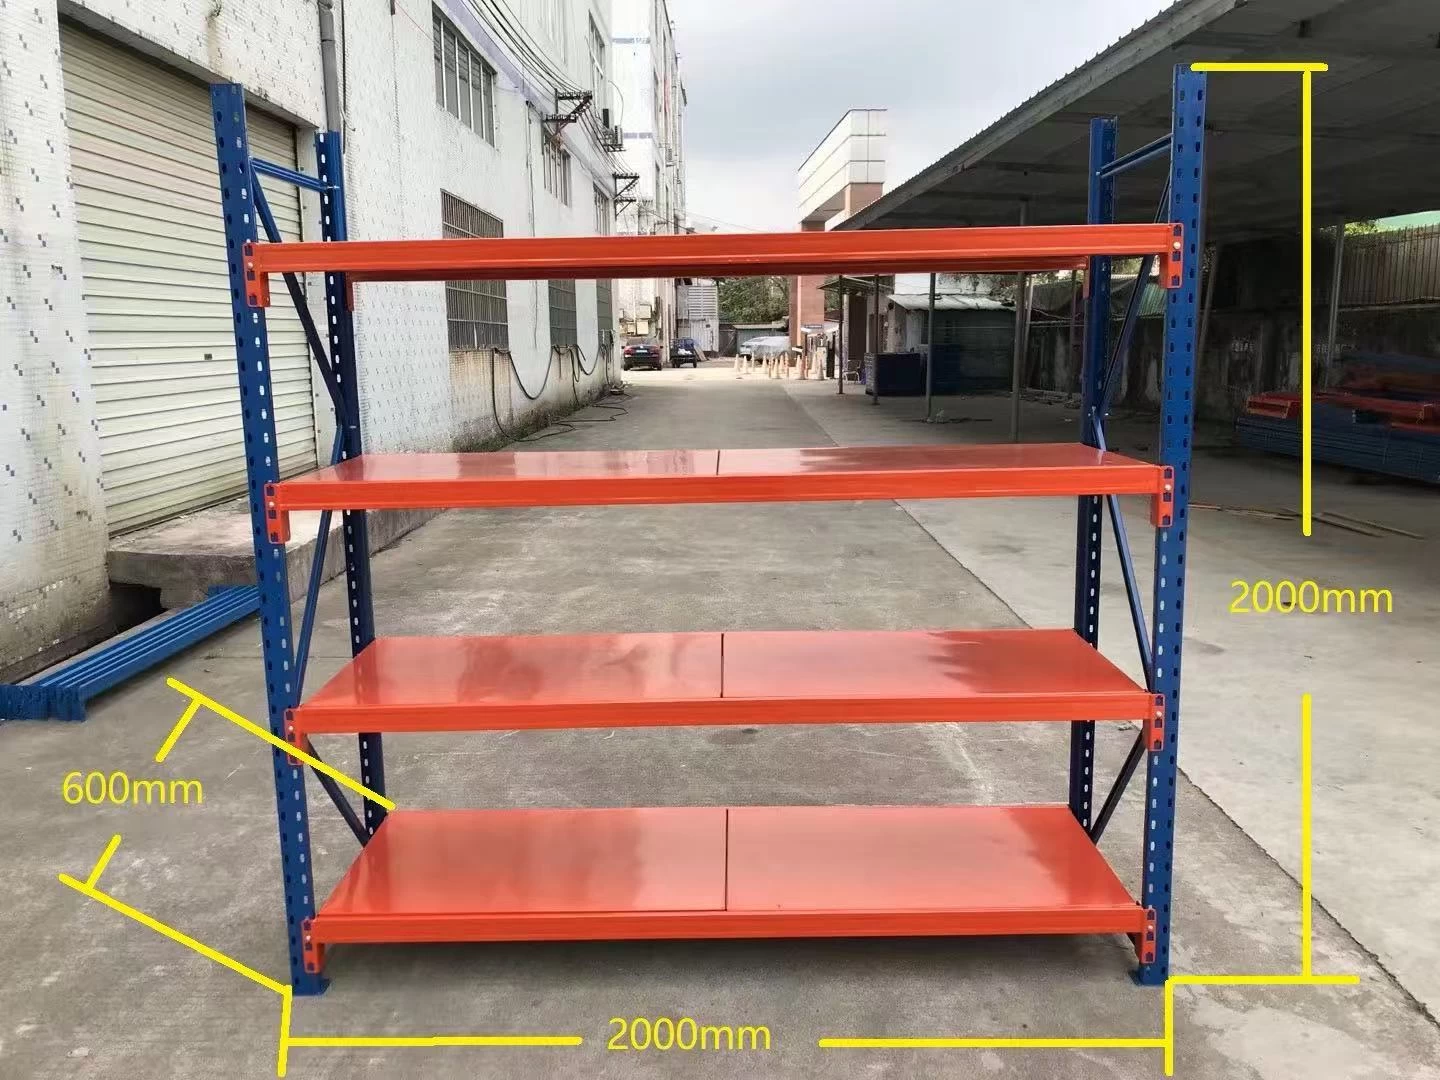
# Step-by-Step Guide to Installing a Medium Duty Shelf
Shelving is an essential component in any organized space, whether it’s a garage, workshop, office, or home storage area. Medium duty shelves provide the perfect balance between strength and versatility, capable of holding heavy items such as tools, books, or kitchen supplies without requiring industrial-grade support. If you're considering installing a medium duty shelf, this comprehensive guide will walk you through the process step-by-step, ensuring that your shelf is secure, functional, and aesthetically pleasing.
---
## Understanding Medium Duty Shelves
Before diving into installation, it’s important to understand what qualifies as a medium duty shelf. These shelves are typically designed to hold between 50 to 150 pounds per shelf, varying by material and bracket strength. Common materials include wood, metal, or engineered composites, paired with brackets or wall-mounted tracks to support the load.
Medium duty shelving strikes a balance — stronger than light duty shelves used for decoration or lightweight items, but less costly and easier to install than heavy industrial shelving.
---
## Tools and Materials Needed
### Tools:
- Drill (cordless or corded)
- Level
- Screwdriver (manual or electric)
- Stud finder
- Tape measure
- Pencil
- Safety goggles
- Wall anchors (if not mounting into studs)
- Hammer (if using anchors)
### Materials:
- Medium duty shelf boards (wood, MDF, or metal)
- Shelf brackets rated for medium duty loads
- Screws (appropriate length and type for wall and brackets)
- Wall anchors (toggle bolts, molly bolts, or plastic anchors depending on wall type)
---
## Step 1: Plan Your Shelf Placement
### Measure and Mark
Start by deciding where you want your shelf installed. Consider the height and length based on the items you plan to store. Use a tape measure to mark the desired height on the wall lightly with a pencil.
If you’re installing multiple shelves vertically, leave enough clearance to accommodate the tallest items you expect to place on each shelf.
### Locate Wall Studs
Using a stud finder, locate the wall studs behind your drywall. Mounting brackets directly into studs provides maximum stability for medium duty shelves. Mark the stud locations along the horizontal line you drew for the shelf.
If studs are not conveniently spaced for your shelf length, you may need to use appropriate wall anchors rated for medium duty loads.
---
## Step 2: Choose the Right Shelf Material and Brackets
### Shelf Boards
For medium duty shelves, plywood or solid wood boards with a thickness of at least ¾ inch are commonly used for durability and aesthetics. Alternatively, metal shelves or engineered wood with laminate finishes can offer a clean and modern look.
### Brackets
Select shelf brackets specifically rated for medium duty weight capacities. Look for powder-coated steel brackets or heavy-duty plastic brackets, ensuring the manufacturer lists the weight capacity clearly. Standard medium duty brackets usually support 50 to 100 lbs each.
---
## Step 3: Prepare the Wall and Brackets
### Mark Bracket Positions
Using your level and pencil, mark the positions for the brackets on the wall. Typically, brackets should be placed approximately every 16 to 24 inches to evenly distribute the load.
Ensure that bracket height aligns perfectly on both sides so the shelf will sit level.
### Pre-drill Holes
Pre-drill holes into the marked stud locations or wall anchor spots. This helps prevent the wall from cracking and makes screw insertion smoother.
---
## Step 4: Install the Brackets
### Attaching to Studs
If mounting directly into studs:
1. Align the bracket holes with the pre-drilled holes.
2. Use heavy-duty wood screws to secure the brackets firmly to the studs.
3. Tighten screws completely but avoid over-tightening which might strip the hole.
### Using Wall Anchors
If mounting into drywall without studs:
1. Insert appropriate wall anchors into the pre-drilled holes.
2. Hammer them flush with the wall if necessary.
3. Screw the brackets into the anchors, ensuring they’re tight and stable.
---
## Step 5: Install the Shelf Board
### Cut the Shelf to Size
If your shelf board isn’t pre-cut, measure the distance between the outer edges of your installed brackets and cut the board accordingly. A circular saw or hand saw can be used for this.
### Sand Edges
Smooth any rough edges or splinters with sandpaper to give a clean finish.
### Place the Shelf on Brackets
Carefully position the shelf board on top of the brackets.
### Secure Shelf to Brackets
Use screws to fasten the shelf board to the brackets from underneath. This prevents shifting and ensures safety, especially if you plan to place heavier items on the shelf.
---
## Step 6: Final Checks and Styling
### Level Check
Use your level once more to verify that the shelf is perfectly horizontal. Adjust if necessary.
### Clean Up
Wipe off any pencil marks and dust. If desired, paint or stain your shelf to match your room décor or protect the wood surface.
### Load Testing
Before placing heavy items, test the shelf’s stability by applying gradual pressure. If there’s any wobble or creaking, re-check screws and anchors.
---
## Additional Tips for a Professional Finish
- **Box-sizing and Measurements:** When cutting shelf boards or mounting brackets, allow for proper box-sizing by considering the thickness of materials and any decorative molding. Precise measurements ensure a seamless fit.
- **Wall Preparation:** If the wall has uneven surfaces or old paint, consider sanding or priming first. A white background (#fff) or neutral paint color can help the shelf stand out visually.
- **Aesthetic Enhancements:** For a polished look similar to professional web design layouts like those using Arial or Helvetica fonts and clean backgrounds, keep hardware minimalistic and consistent in color.
- **Safety First:** Always wear safety goggles when drilling or cutting. Ensure power tools are operated according to manufacturer instructions.
---
## Troubleshooting Common Issues
- **Shelf Sagging:** If you notice sagging over time, consider adding additional brackets or thicker shelf boards.
- **Loose Brackets:** Check screw tightness periodically, especially if you live in an area with temperature fluctuations causing expansion and contraction.
- **Wall Damage:** Avoid mounting shelves on drywall alone without anchors or studs, as this risks wall damage and shelf failure.
---
## Conclusion
Installing a medium duty shelf is a practical project that can be accomplished with basic tools and careful planning. By following this step-by-step guide, you’ll create a durable, functional, and visually appealing shelving solution tailored to your needs.
Remember to focus on precise measurements, secure anchoring, and proper material selection. With patience and attention to detail, your medium duty shelf will provide reliable storage for years to come.
---
*For more tips on home improvement and installation guides, stay tuned to our blog and subscribe to our newsletter.*