# Installing Cantilever Racks: A Step-by-Step Guide
Cantilever racks are an indispensable storage solution in warehouses, retail spaces, and manufacturing facilities where long, bulky, or irregularly shaped items need to be stored efficiently. Their design allows for easy loading and unloading of materials such as lumber, pipes, steel bars, and furniture, making them a versatile choice for many industries.
Installing cantilever racks correctly is crucial to ensure safety, maximize storage capacity, and maintain operational efficiency. This comprehensive guide will walk you through the installation process step-by-step, highlighting best practices and important considerations along the way.
---
## What Are Cantilever Racks?
Before diving into installation, it’s important to understand what cantilever racks are and how they function.
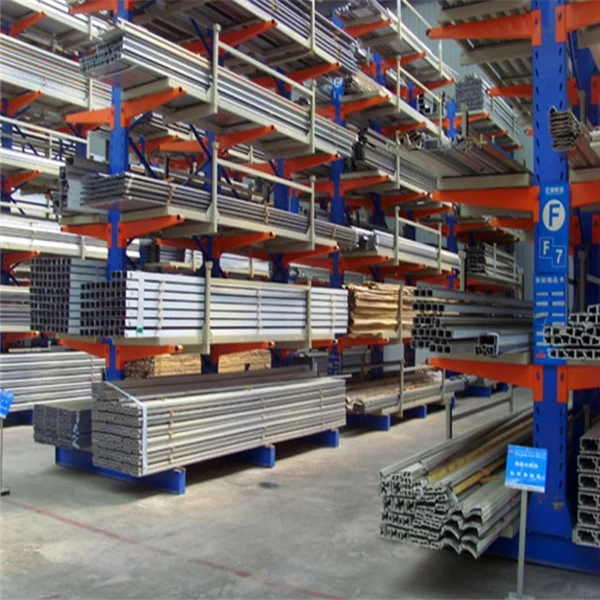
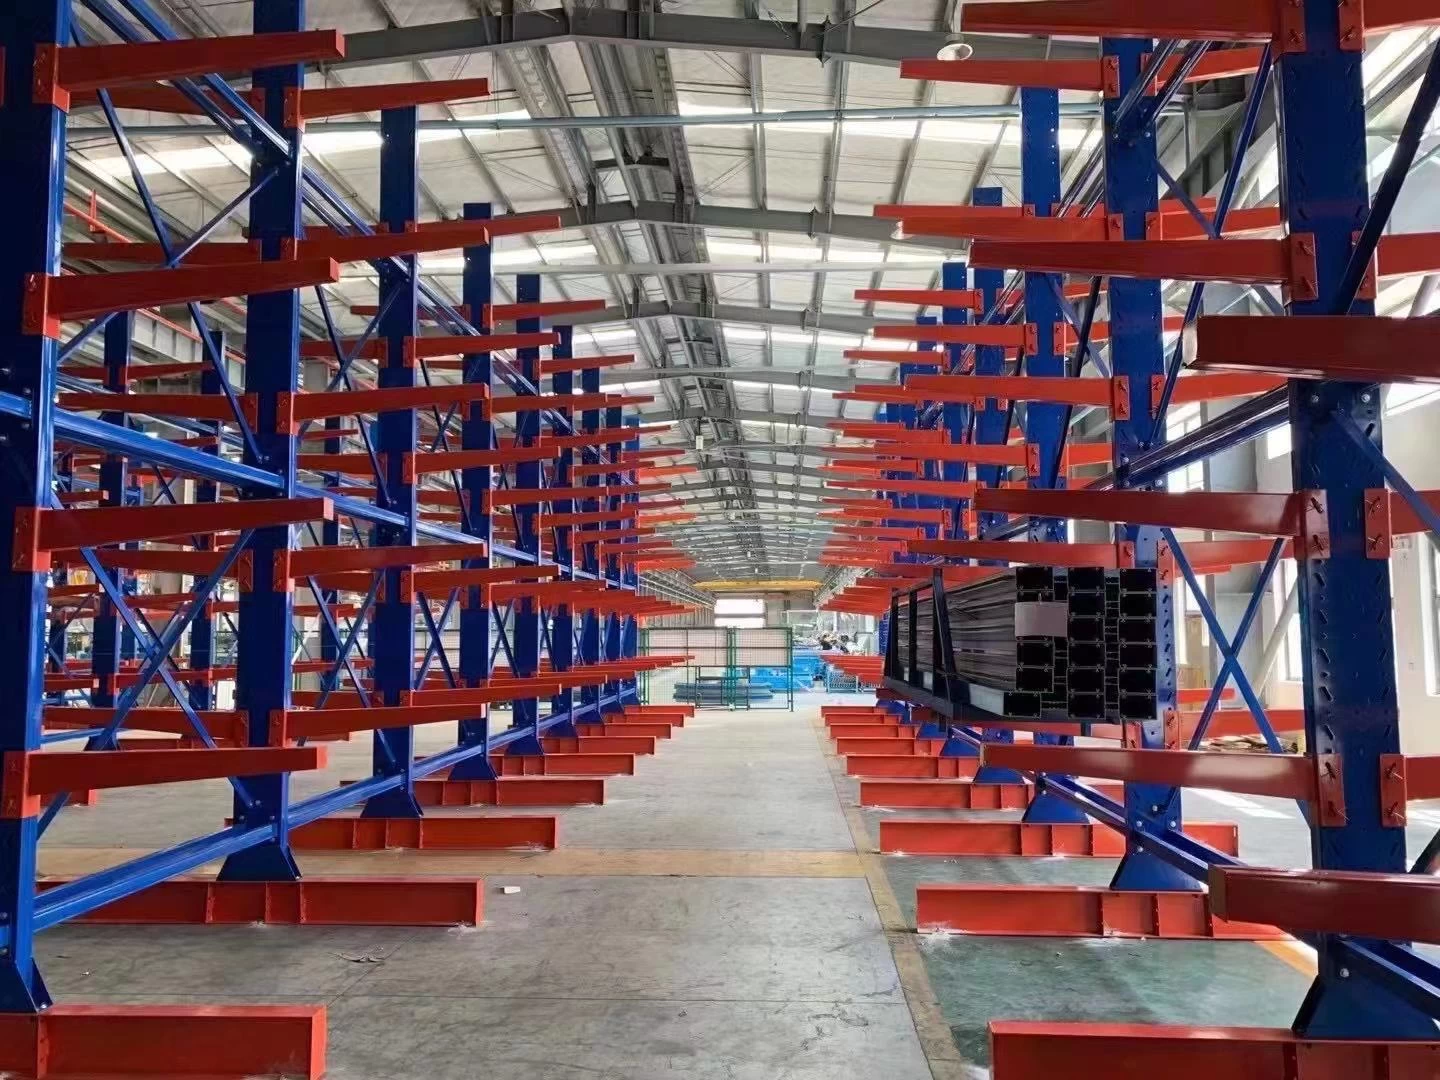
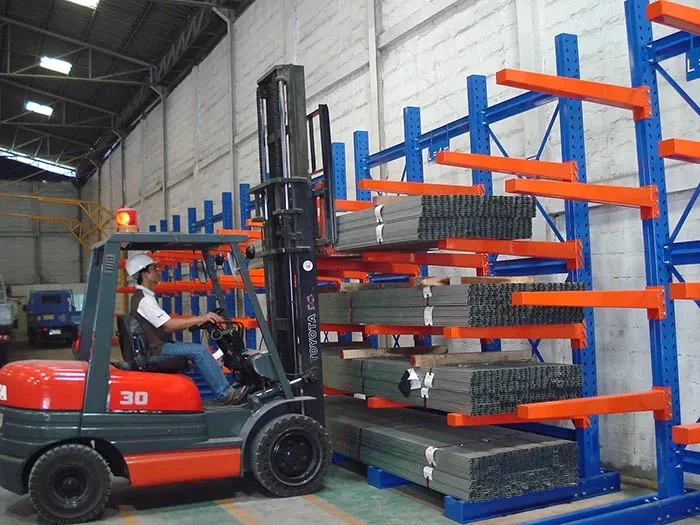
Cantilever racks consist of vertical columns anchored to the floor, with horizontal arms extending outward to support loads without front columns or obstructions. This open-front design allows for easy placement and retrieval of large and heavy items using forklifts or manual handling equipment.
Key components include:
- **Base:** The foundation that supports the upright column.
- **Column:** The vertical post to which arms are attached.
- **Arms:** Horizontal supports projecting from the column.
- **Braces:** Diagonal supports that stabilize the structure.
- **Anchors:** Bolts or fasteners securing the rack to the floor.
---
## Tools and Materials Needed for Installation
To install cantilever racks effectively, gather the following tools and materials beforehand:
- Cantilever rack components (columns, arms, braces, bases)
- Floor anchors and bolts (typically expansion bolts or chemical anchors)
- Drill with masonry bits
- Torque wrench
- Level (spirit or laser level)
- Measuring tape
- Safety gear (gloves, goggles, steel-toed boots)
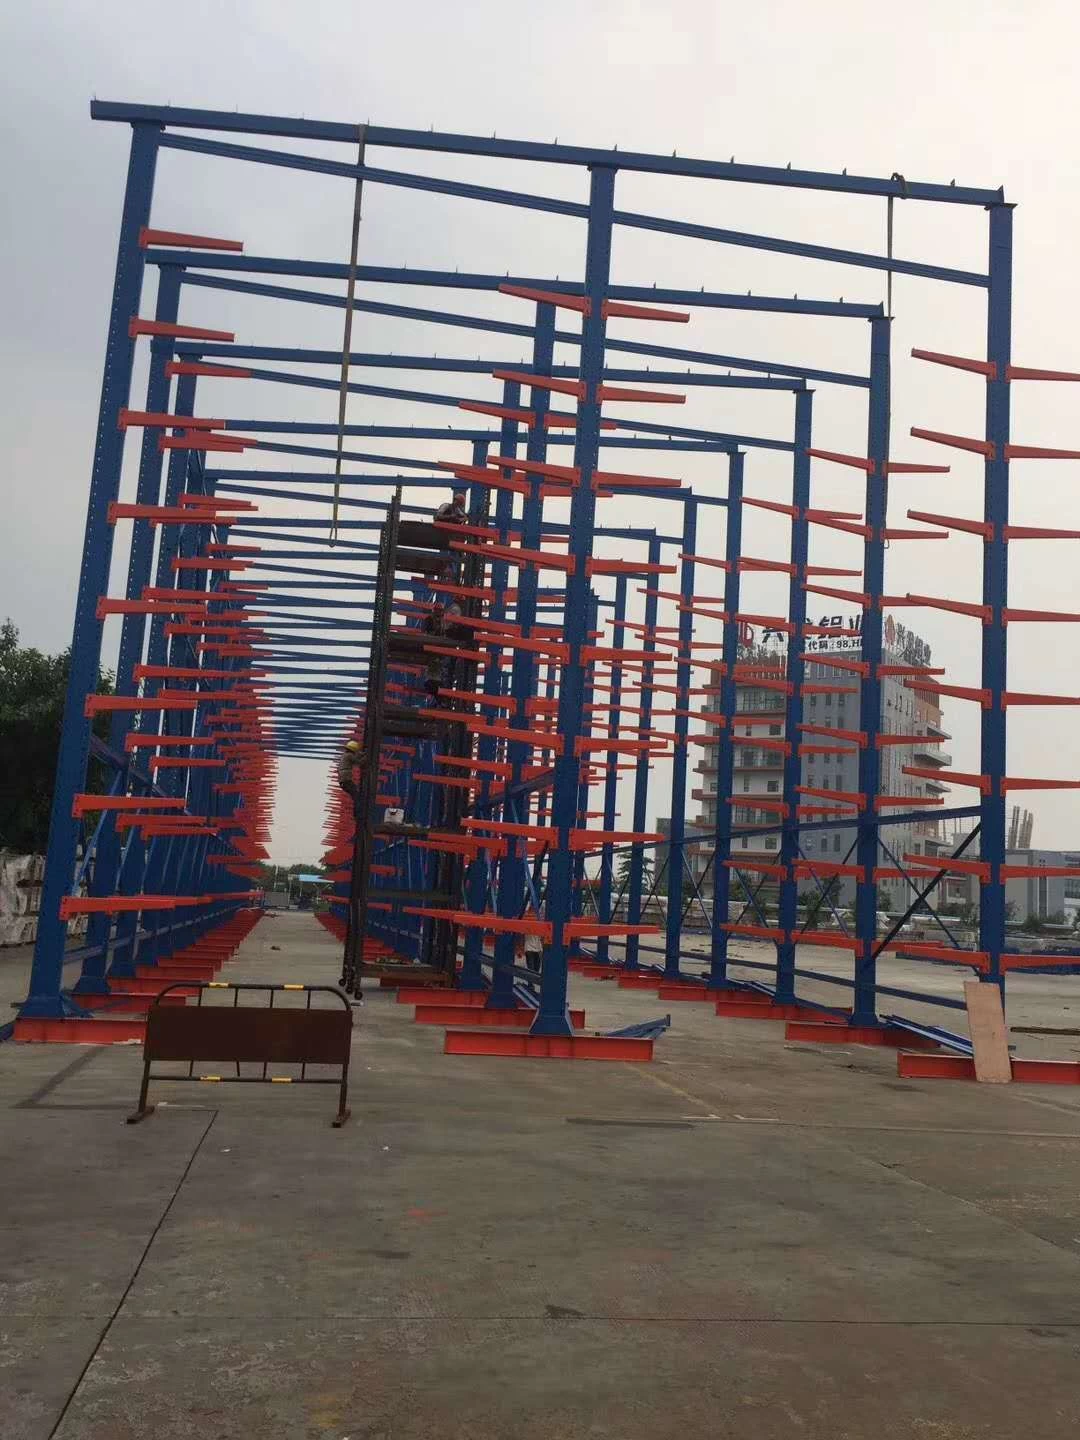
- Ladder or scaffolding (depending on height)
- Wrenches or socket set
- Marker or chalk line
---
## Step 1: Planning and Site Preparation
### Assess Your Storage Needs
Begin by evaluating the items you intend to store. Consider dimensions, weight, and frequency of access. This assessment will influence the number of racks, arm lengths, load capacities, and aisle widths required.
### Inspect the Installation Area
Ensure the floor is level, clean, and free of debris. Cantilever racks require a flat, sturdy surface for proper anchoring. If necessary, repair any cracks or uneven sections.
### Design Layout and Obtain Approvals
Using your measurements, draft a layout plan highlighting rack positions, aisle widths, and clearance zones. Confirm that your plan complies with local building codes, fire safety regulations, and workplace safety standards. Obtain any necessary permits or approvals before proceeding.
---
## Step 2: Unpack and Inspect Materials
Carefully unpack all components and inspect them for damage or defects. Check that you have all parts as per the manufacturer’s bill of materials. Verify that the specifications, such as arm lengths and load ratings, match your requirements.
---
## Step 3: Assemble the Base and Columns
### Position the Bases
Place the base plates on the floor according to your layout. Use a measuring tape and chalk line to mark precise locations. Bases must be aligned properly to ensure vertical columns stand straight.
### Secure the Bases
Using a hammer drill with a masonry bit, drill holes into the concrete floor at marked points. Insert expansion anchors or chemical anchors as specified by the manufacturer. Tighten anchors firmly using a torque wrench to prevent movement.
### Attach Columns to Bases
With the help of another person or lifting device, position vertical columns onto the bases. Secure columns using bolts and nuts provided. Use a level to verify the column is perfectly vertical before tightening hardware completely.
---
## Step 4: Install Braces and Arms
### Attach Braces
Diagonal braces add rigidity and stability to the rack. Attach them between columns at designated points using bolts. Confirm that braces are tight and the structure does not sway.
### Mount the Arms
Install cantilever arms onto the columns at predetermined heights. Arms may be adjustable or fixed depending on the model. Ensure arms are level and secured firmly with locking pins or bolts.
---
## Step 5: Final Alignment and Safety Checks
### Verify Structural Integrity
Walk around the rack and check for any loose bolts or misaligned parts. Use a level to reconfirm vertical and horizontal alignments.
### Load Testing
If possible, perform a load test by placing a sample weight on the arms to confirm stability. Follow manufacturer guidelines for maximum load limits.
### Install Safety Features
Attach end stops or guards to prevent materials from sliding off arms. Mark designated loading zones and post visible load capacity signs to inform users.
---
## Step 6: Maintain Proper Aisle Space and Accessibility
Ensure aisles between racks provide ample space for forklifts and personnel to maneuver safely. Standard aisle widths range from 8 to 12 feet but may vary based on equipment size.
Clear signage and proper lighting improve operational efficiency and minimize accidents.
---
## Tips for Efficient Cantilever Rack Installation
- **Follow Manufacturer Instructions:** Always adhere to the specific installation guidelines provided by the rack supplier.
- **Use Quality Anchors:** The strength of your floor anchors directly impacts the rack’s stability.
- **Engage Skilled Personnel:** Employ trained installers or structural engineers if needed.
- **Regular Inspections:** Schedule periodic checks to tighten bolts and assess wear.
- **Consider Ergonomics:** Position racks at heights that reduce strain during loading/unloading.
---
## Conclusion
Installing cantilever racks is a task that requires careful planning, precise execution, and attention to safety details. When installed correctly, these racks offer a durable, flexible, and accessible storage solution that enhances warehouse productivity and optimizes space utilization.
By following this step-by-step guide, you can ensure your cantilever rack system is securely anchored, properly assembled, and ready to support your storage needs efficiently for years to come.
---
**About the Author:**
[Your Name] is a logistics and warehouse solutions specialist with over a decade of experience designing and implementing optimized storage systems for industrial applications. Passionate about safety and efficiency, [Your Name] shares practical insights to help businesses streamline their operations.
---
*For further information on warehouse storage solutions or professional installation services, please contact us at [contact info].*