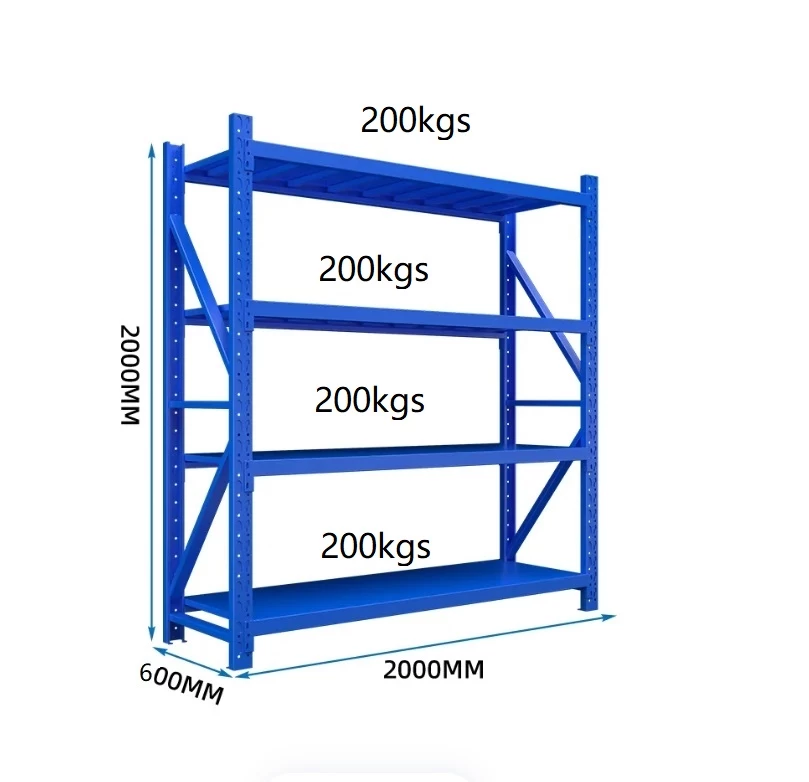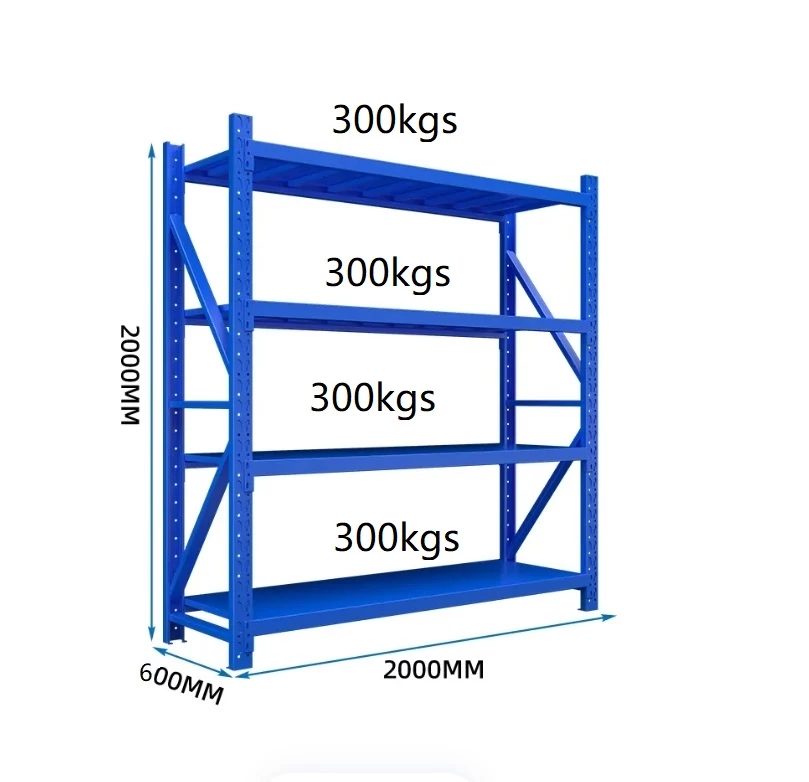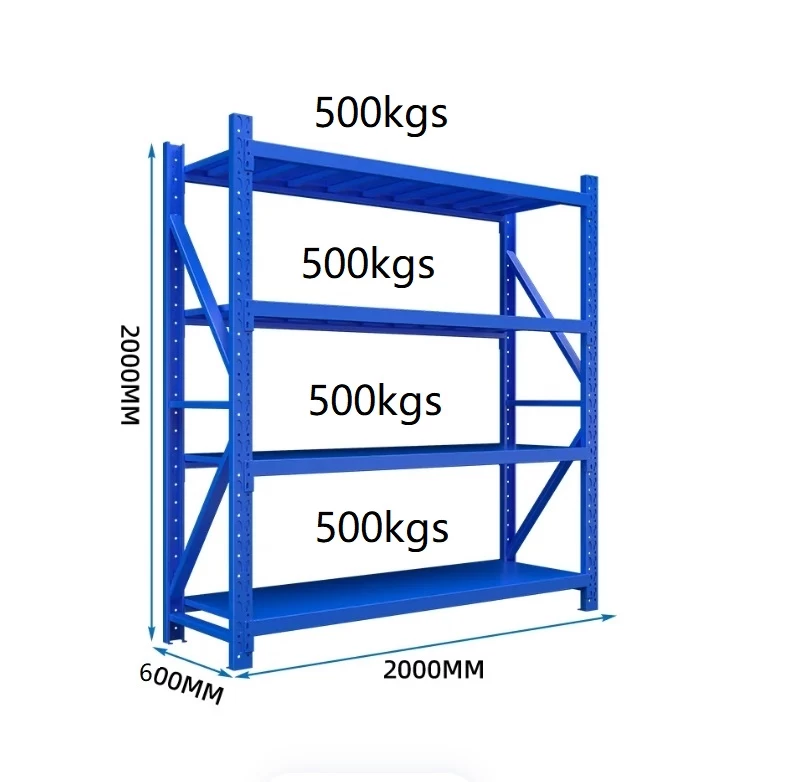
# How to Install a Light Duty Shelf in 5 Simple Steps
Installing a light duty shelf is a practical and straightforward home improvement task that can add valuable storage space and organization to any room. Whether you want to display books, décor, or store everyday items, a well-installed shelf not only provides functionality but also enhances the aesthetic appeal of your living or working space. This article will guide you through the entire process of installing a light duty shelf in five simple, easy-to-follow steps. We will also touch upon some key design considerations that ensure your shelf installation is both durable and visually pleasing.
---
## Why Choose a Light Duty Shelf?
Before diving into the installation process, it’s important to understand what a light duty shelf entails. Light duty shelves are designed to hold lighter items, typically up to 20-50 pounds per linear foot. They are perfect for bedrooms, bathrooms, kitchens, or office spaces where heavy load-bearing shelves aren't necessary.
Light duty shelving usually involves materials like softwood, MDF, or plywood with simple bracket supports. These shelves are easier and quicker to install compared to heavy duty shelves which require robust wall anchors and thicker materials.
---
## Step 1: Gather Your Tools and Materials
Proper preparation is crucial for a smooth installation. Here’s what you’ll need:
- **Shelf board** (cut to your desired length and width)
- **Shelf brackets** (appropriate for light duty, usually metal or plastic)
- **Measuring tape**
- **Level**
- **Pencil**
- **Drill and drill bits**
- **Screws and wall anchors** (choose anchors suitable for your wall type: drywall, plaster, or masonry)
- **Stud finder** (optional but recommended)
- **Screwdriver**
### Design Tip: Choosing the Right Shelf Material and Finish
Aesthetics matter, especially if your shelf is visible in a prominent space. A shelf with a white background (#fff) and smooth finish can brighten a room, whereas wooden shelves add warmth. Consider the font-family analogy from web design—just as Arial, Helvetica, and sans-serif fonts are clean and readable, a simple, clean-lined shelf design complements most interiors. Think of your shelf as part of an overall "sde-page" layout where spacing, margin, padding, and color all work together for balance.
---
## Step 2: Choose the Location and Measure Accurately
Decide where your shelf will go. Common locations include above desks, near seating areas, or inside closets. Once chosen, use a **stud finder** to locate studs behind the wall, which provide better support than drywall alone.
- Mark the height at which you want the shelf.
- Use your level to draw a horizontal line indicating the bottom edge of the shelf.
- Measure the distance between where the brackets will be placed — typically 16 to 24 inches apart, depending on shelf length.
### Design Note: Margin and Padding Considerations
Just like in CSS where margin and padding determine spacing around elements, consider how much clearance you want around your shelf. Leave enough margin from corners or other furniture to avoid overcrowding. Additionally, think about the “padding” — the space on the shelf itself for items to sit comfortably without slipping off.
---
## Step 3: Install the Brackets
Brackets bear the weight of the shelf, so proper installation is essential.
- Hold the bracket against the wall aligned with the pencil mark.
- Use the level to ensure it’s perfectly vertical.
- Mark the screw holes with a pencil.
- Drill pilot holes into the wall. If you’re going into drywall without studs, insert appropriate wall anchors.
- Attach the brackets using screws.
Repeat the process for all brackets. For longer shelves, having three or more brackets evenly spaced is advisable to prevent sagging.
### Pro Tip: Secure and Stable Base
Think of the bracket installation like setting the **box-sizing** property in CSS to **border-box** — it ensures that the shelf’s boundaries (edges) are respected and properly contained within the support system, preventing overflow or instability.
---
## Step 4: Attach the Shelf Board
Once the brackets are solidly mounted, place the shelf board on top.
- Check again with the level to ensure the shelf sits flat.
- Adjust if necessary by loosening screws slightly.
- Secure the shelf to the brackets using screws from underneath or behind (depending on bracket design).
Make sure the shelf is flush against the wall to prevent gaps that collect dust and dirt.
---
## Step 5: Final Touches and Styling
Your shelf is now installed, but a few finishing touches can make a big difference.
- Wipe away pencil marks and dust.
- Consider adding a **box-shadow** effect under the shelf using paint techniques or LED strip lighting for a modern look.
- If painting or staining, use a **font-family** analogy to choose a consistent style across your room — just as Arial and Helvetica fonts maintain readability and neutrality, a neutral color palette like white (#fff) or soft gray gives a clean, timeless appearance.
- Organize items with a mixture of **margin** and **padding** concepts — leave space between objects to avoid clutter and make each piece stand out.
---
## Additional Design Insights: The “sde-hero” Approach
Borrowing from web design terminology, think of your shelf area as an **sde-hero** section — a focal point with visual impact. You can enhance this by:
- Positioning the shelf relatively to create layers with other décor.
- Using a **linear-gradient background** behind the shelf wall to add depth.
- Incorporating rgba colors such as rgba(4, 45, 105, .92) for a rich, subtle backdrop that contrasts with the white shelf.
This approach creates a dynamic yet cohesive look, balancing function and style seamlessly.
---
## Maintenance Tips for Long-Term Use
- Avoid overloading the shelf beyond its weight capacity.
- Periodically check the brackets and screws for tightness.
- Clean the surface regularly with appropriate cleaners based on material.
- Protect wooden shelves with sealants or varnish to prevent moisture damage.
---
## Troubleshooting Common Issues
- **Shelf sags or bends:** Add additional brackets or replace with thicker board.
- **Brackets pull away from wall:** Ensure proper anchors are used; locate studs when possible.
- **Shelf is uneven:** Recheck levels and adjust bracket screws.
---
## Conclusion
Installing a light duty shelf is a manageable DIY project that can greatly improve your home or office organization. By following these five simple steps—gathering the right tools, measuring and marking carefully, installing brackets securely, attaching the shelf properly, and applying thoughtful design touches—you can enjoy a functional and stylish shelving solution tailored to your needs.
Remember, attention to detail—from precise measurements to the final styling—ensures your shelf not only holds your items safely but also integrates beautifully into your interior space. Embrace the principles of good design and installation, much like the structured, clear rules of CSS styling, to achieve results that are both practical and elegant.
---
**Keywords:** box-sizing, border-box, sde-body, margin, background, font-family, Arial, Helvetica, sans-serif, color, sde-detail, width, padding, sde-page, max-width, auto margin, white background (#fff), box-shadow, overflow hidden, sde-hero, position relative, min-height 650px, linear-gradient background, rgba colors (4, 45, 105, .92)